

How to Create a Glossary Knowledge Base
How to Create a Glossary Knowledge Base
To create a glossary page, follow the steps shown below.
Step 1:
- Head to your WordPress dashboard.
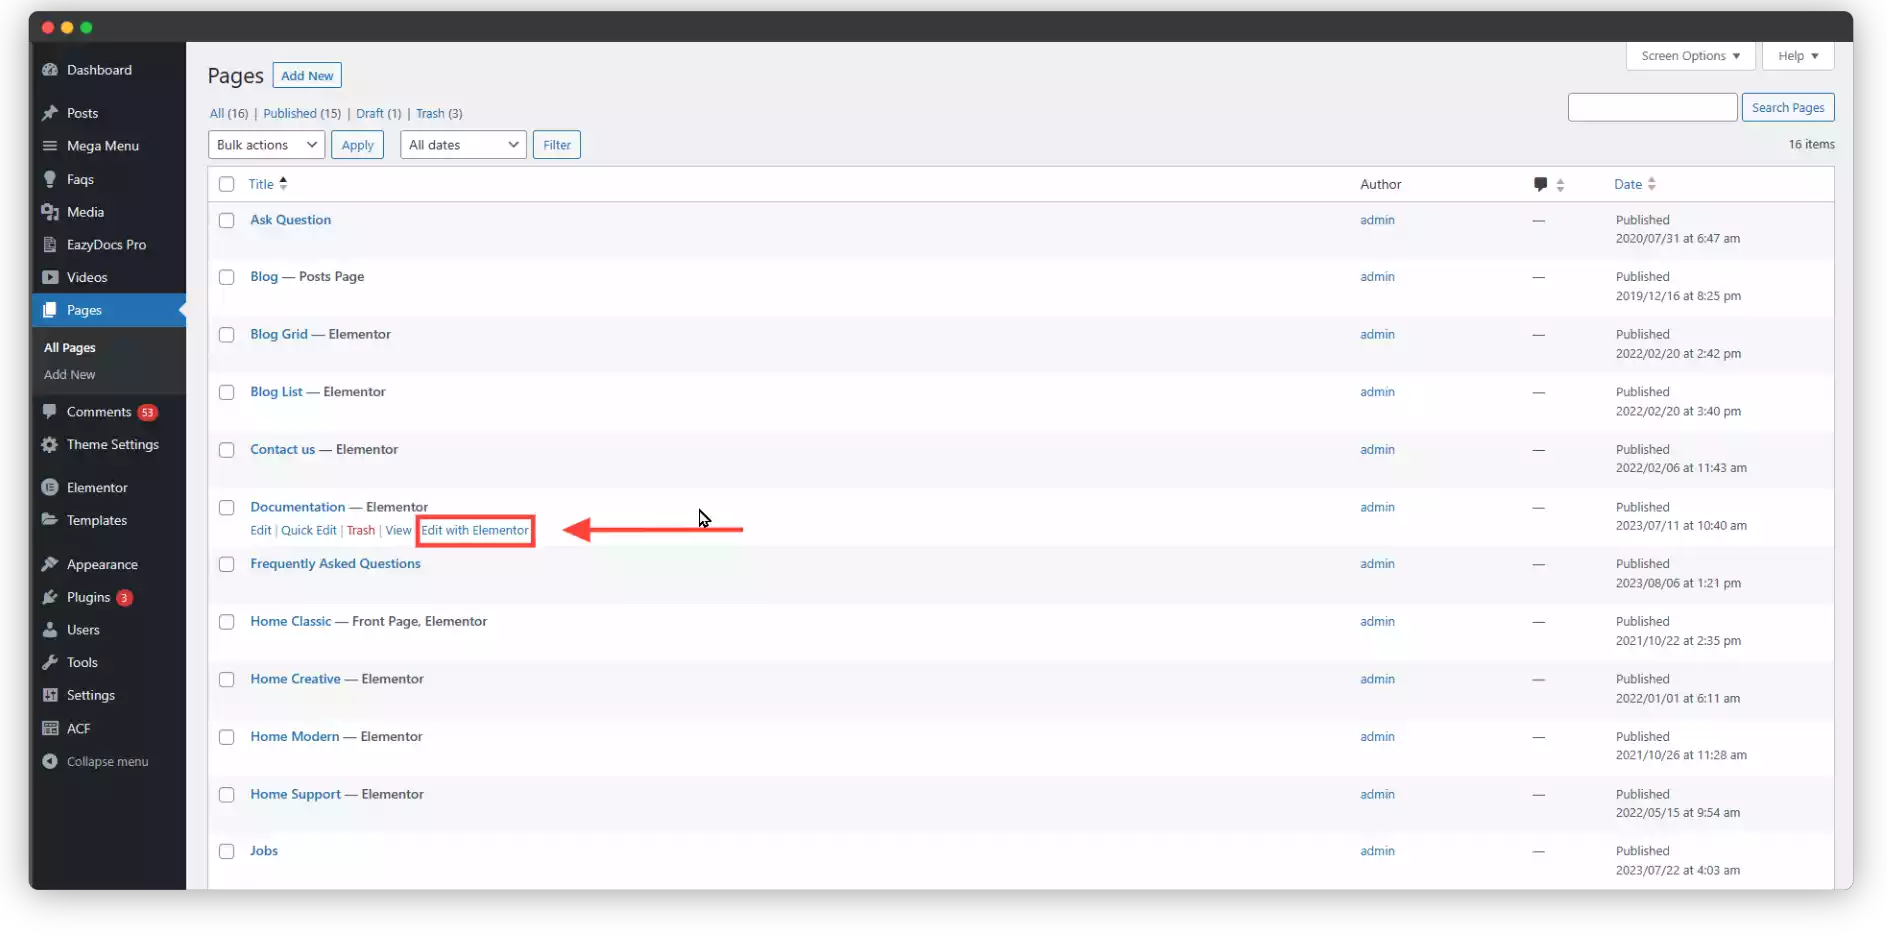
- Navigate to “[direction] Pages > All Pages [/direction]” and either:
- Create a new page: This provides a blank slate for your glossary masterpiece.
- Edit an existing page: Transform an existing page into a definition haven by clicking “Edit with Elementor”.
Step 2:
- Within the Elementor editor, utilize the search bar to locate the “EazyDocs Glossary Doc” widget.
- Drag and drop this powerful widget onto your page. Witness the magic unfold as a comprehensive glossary based on your published content automatically appears.


Step 3:
- Time to refine your glossary! In the “Content” tab, you have control:
- Select Docs: Choose the specific data sets you want to include from your published EazyDocs content.
- Articles: Determine the number of definitions you want to showcase for a focused presentation.
- Order: Arrange the definitions in the desired order to guide users effectively.

- Feeling creative? Dive into the “Advanced Elementor Customization” tab to personalize your glossary’s appearance.
- Match your brand or content style with color adjustments, font choices, and more.
- Once your glossary is polished to perfection, hit “Publish” or “Update” to make it accessible to your audience.
Bonus Tips: Consider adding an A-Z index or search bar for larger glossaries, making navigation a breeze for your users. With EazyDocs, crafting a clear and informative glossary is a breeze. So, empower your users with the gift of understanding and watch your knowledge base flourish!

